
Embroidered designs add a personal, professional touch to everything from apparel to home decor, and digitized embroidery designs make it simple to bring your creative ideas to life. Whether you’re a small business owner branding merchandise, a designer crafting custom fashion, or a hobbyist personalizing gifts, these digital files transform your artwork into stitch-ready patterns for your embroidery machine. This guide explores what digitized embroidery designs are, how they work, and how to use them effectively to create stunning results. Let’s dive into the world of digitized embroidery designs.
What Are Digitized Embroidery Designs?
Digitized embroidery designs are digital files, such as PES, DST, or EXP, that contain instructions for an embroidery machine to stitch a specific pattern, logo, or artwork onto fabric. These files specify stitch types (like satin or fill), thread colors, and stitch sequences, ensuring your design stitches cleanly and accurately. Created through a process called digitizing, these designs can be made from any artwork—logos, text, or illustrations—using software or professional services. They’re the backbone of modern embroidery, enabling precise, repeatable results.
Why Use Digitized Embroidery Designs?
Digitized designs offer several benefits for creative and professional projects:
- Customization: Create unique patterns tailored to your vision, from monograms to logos.
- Professional Quality: Achieve clean, polished stitches that rival commercial products.
- Versatility: Apply designs to various fabrics, like cotton, denim, or silk.
- Consistency: Ensure identical results across multiple items, perfect for branding.
- Durability: Stitched designs resist fading and wear, ideal for long-lasting products.
These advantages make digitized designs a must for anyone looking to elevate their embroidery game.
How Digitized Embroidery Designs Are Created
The process of creating digitized embroidery designs, known as digitizing, involves several steps. Here’s how it typically works:
Step 1: Choose Your Artwork
Select a high-resolution image in formats like JPG, PNG, or vector (SVG or AI). Simple designs with bold outlines and 3–5 colors work best, as embroidery machines struggle with gradients or fine details. For example, a bold logo or floral pattern is ideal. Use free tools like GIMP or Photopea to simplify the image—remove backgrounds, boost contrast, or reduce colors—before digitizing.
Step 2: Analyze the Artwork
Whether you’re digitizing yourself or using a service, the artwork is evaluated for:
- Complexity: Simple designs need fewer stitches than intricate ones.
- Fabric Type: Settings vary for stretchy knits, structured twill, or delicate silk.
- Hoop Size: The design must fit your machine’s hoop, like 4×4 or 5×7 inches.
- Thread Colors: Colors are matched to standard thread charts, like Brother or Isacord.
This ensures the design is optimized for stitching.
Step 3: Digitize the Design
Using software like Wilcom Hatch, Brother PE-Design, or Ink/Stitch, the design is converted into a stitch file:
- Manual Digitizing: Trace the artwork with “Pen” or “Bezier” tools to define stitch areas. Assign satin stitches for borders, fill stitches for large areas, or running stitches for details.
- Auto-Digitizing: Use auto-trace for simple designs, though it may need tweaks for accuracy.
- Settings Adjustment: Set stitch density (0.4–0.5 mm), underlay, and pull compensation (0.1–0.2 mm) to suit the fabric.
- Special Effects: Add 3D puff or appliqué for textured designs, if desired.
Manual digitizing ensures precision for unique creations.
Step 4: Preview and Test
Preview the design in software’s 3D view to check stitch quality. Test it on scrap fabric matching your final material, using the right stabilizer—cut-away for knits, tear-away for cotton. Check for thread breaks, puckering, or misalignment, and adjust settings if needed.
Step 5: Save and Transfer
Save the design in your machine’s format (e.g., PES for Brother, DST for Janome) and transfer it via USB or direct connection. Verify the file in a viewer to ensure all elements are intact.
Tools for Creating Digitized Embroidery Designs
To create or use digitized designs, you’ll need:
- Embroidery Software: Paid options like Brother PE-Design or Wilcom Hatch ($100–$1,000) offer advanced features. Free tools like Ink/Stitch (with Inkscape) are great for beginners.
- High-Quality Artwork: Clear JPG, PNG, or vector files with bold shapes.
- Computer: To run software and process designs.
- Embroidery Machine: Confirm it supports your file format (check the manual).
- Stabilizers and Threads: Cut-away, tear-away, or water-soluble stabilizers, plus quality threads like Isacord.
These tools make digitizing accessible for all skill levels.
Tips for Using Digitized Embroidery Designs
Maximize your results with these practical tips:
- Simplify Artwork: Use bold shapes and minimal colors for clean stitches.
- Match Stabilizers to Fabric: Choose cut-away for stretchy fabrics, tear-away for stable ones, or water-soluble for delicate materials.
- Test Designs: Stitch on scrap fabric to catch errors before final use.
- Use Quality Threads: Brands like Isacord or Madeira ensure vibrant, durable results.
- Check Hoop Size: Ensure the design fits your machine’s hoop to avoid scaling issues.
Applications in Fashion, Branding, and Crafts
Digitized embroidery designs shine in various areas:
- Fashion: Designers create custom patterns for dresses, jackets, or scarves, adding a premium, handcrafted feel.
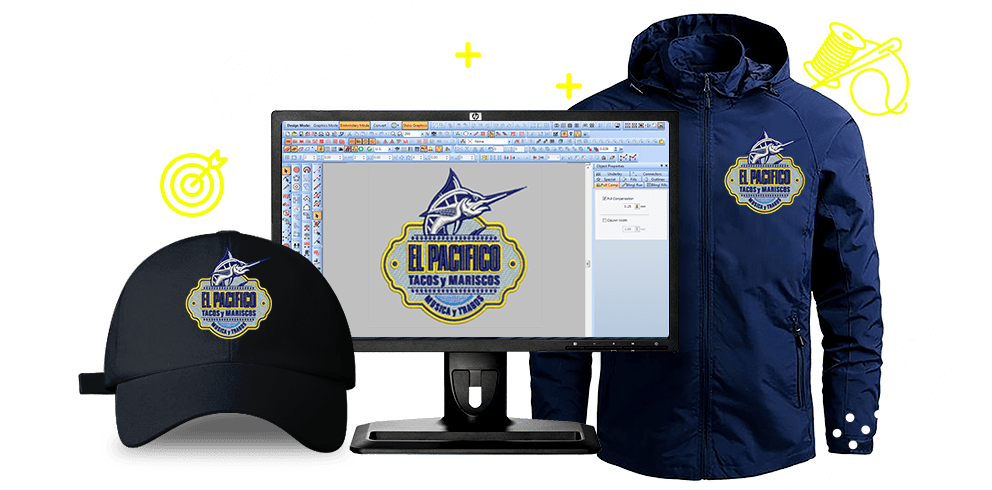
- Branding: Businesses embroider logos on uniforms or merchandise for a professional, consistent look.
- Crafts: Hobbyists personalize gifts like towels, quilts, or bags with unique, durable designs.
For example, a boutique might digitize a floral motif for a clothing line, while a business could create a logo file for branded caps.
DIY vs. Professional Digitizing
DIY digitizing with free tools like Ink/Stitch or paid software like Brother PE-Design is cost-effective but requires practice. It’s ideal for simple designs or hobbyists. Professional services ($10–$100 per design) are better for:
- Complex designs needing precise stitch placement.
- Bulk orders requiring consistency.
- Time-sensitive projects or specialty fabrics like leather.
Start with DIY to learn, then consider professionals for intricate or urgent work.
Choosing a Professional Digitizing Service
Look for:
- Experience: Portfolios with designs similar to yours, like logos or patterns.
- File Compatibility: Formats like PES, DST, or EXP for your machine.
- Turnaround Time: 24–48 hours for tight deadlines.
- Pricing: $10–$100 per design, based on complexity.
- Support: Revisions or consultations for perfect results.
Request a sample to verify quality before ordering in bulk.
Common Mistakes to Avoid
- Complex Artwork: Too many details or colors lead to messy stitches. Simplify first.
- Ignoring Fabric Type: Use appropriate stabilizers and settings for each material.
- Skipping Tests: Test on scrap fabric to prevent errors on final items.
- Low-Quality Images: Blurry images produce poor results. Use high-resolution files.
Where to Find Digitized Embroidery Designs
- Online Marketplaces: Sites like Etsy or EmbroideryDesigns.com offer pre-digitized files for purchase or inspiration.
- Free Resources: Websites like FreeEmbroideryDesigns provide simple, free designs to practice with.
- Create Your Own: Use tools like Inkscape to design original artwork, then digitize with Ink/Stitch.
Conclusion
Digitized embroidery designs empower you to create unique, professional-quality stitches for any project, from fashion to branding to crafts. By converting your artwork into stitch-ready files, you can achieve vibrant, durable designs that stand out on any fabric. Whether you digitize yourself using free tools like Ink/Stitch or hire professional services, simplify your artwork, test files, and match stabilizers to materials for flawless results. With digitized embroidery designs, you can transform your creative vision into stunning, stitched masterpieces that make every project special.